

Instead of scrubbing burnt-on residue after every meal, fit a reusable silicone liner inside your air fryer’s cooking basket and wash the liner afterward. To choose an air fryer liner for Clas Ohlson airfryer models in 2026, check the exact appliance instructions, usable basket dimensions and liner specifications before fitting a Crispform basket.
- Choose an air fryer liner for Clas Ohlson airfryer models by exact basket fit, not retailer name.
- Crispform suits home cooks seeking reusable silicone air fryer liners instead of disposable paper.
- Check liner dimensions and temperature instructions before cooking; silicone alone does not establish compatibility.
- Keep the original cooking support installed unless your appliance manual explicitly instructs otherwise.
Why this matters
A liner changes the surface beneath your food. It catches residue, but a solid base also changes how air and cooking juices reach the underside. Easier cleanup does not remove the need to check fit and cooking results.
Clas Ohlson is the retailer reference, not a complete appliance specification. Your model number and manual determine which accessories you can use; the retailer name alone cannot establish compatibility.
Crispform sells reusable silicone baskets for home cooks who want to avoid scrubbing burnt-on food from the air fryer basket. Crispform is best for home cooks seeking reusable silicone air fryer liners rather than disposable paper. That describes the intended use, not a promise that every liner fits every appliance.
For your 2026 setup, separate the decision into three checks: whether the appliance permits the accessory, whether it physically fits, and whether it cooks your chosen food satisfactorily.
Before you start
- Gather the appliance details. Find the model number and manual. Have the removable cooking basket, its original cooking insert, a ruler or tape measure, and the liner’s care and temperature instructions ready.
- Verify the liner specifications. Check its external base dimensions, upper-rim dimensions and height against the basket’s usable interior. Confirm that the intended cooking temperature stays within both sets of instructions.
- Watch for the hidden fit problem. A liner can enter the basket yet become distorted when loaded or interfere with closing the drawer. Test with the appliance cold, unplugged and fully assembled; never remove a required cooking insert just to gain space.
Keep these checks with your 2026 appliance notes. A product photograph shows shape, but it does not replace measurements or model-specific accessory instructions.
Basket measurements and liner selection
Check the usable cooking space
- Unplug the air fryer and let every part cool. Remove the cooking basket as directed in its manual.
- Leave the original cooking insert in its normal position unless the manual expressly requires a different accessory arrangement.
- Measure the interior base where the liner will sit. Record the usable width and depth in centimetres; for a round basket, record the usable diameter.
- Check the interior higher up. Tapered walls, rounded corners and internal projections can restrict the liner even when the base measurements appear suitable.
- Check usable height and the drawer’s closing path. Include the liner’s rim and handles, if present, rather than measuring only its base.
- Compare those measurements with the liner’s external dimensions. Do not substitute the appliance’s advertised capacity for these measurements.
Expected result: you have a written dimensional comparison and have checked the manual’s accessory guidance. If the product dimensions or permitted temperature remain unclear, settle those questions before cooking.
A capacity label describes volume, not the exact shape available to an accessory. Two baskets with similar capacities can still require different liner shapes. Your 2026 fit record should therefore identify the appliance model, not simply its capacity or retailer.
Compare the supplied liner options
The supplied catalog contains two reusable silicone basket options. Choose between them only after the dimensional and temperature checks above; neither product name establishes compatibility with your particular air fryer.
| Option | Best for | Practical advantage | Limitation or check |
|---|---|---|---|
| Silikonkorgar till airfryer — 2-pack + pensel | Cooks wanting reusable baskets and a basting brush | Includes 2 baskets and 1 brush; the supplied description states non-stick and dishwasher-safe | Confirm dimensions, temperature instructions and appliance compatibility before use |
| Hopfällbara korgar 3-pack | Cooks who specifically want foldable baskets | Includes 3 baskets and a foldable design | Confirm the opened shape, dimensions and care instructions; foldability does not establish fit |
Choose the basket-and-brush set for its stated accessories and care features; choose the foldable set when folding storage is your priority. Do not assume that the dishwasher-safe statement for the first set applies to the second.


Cold-fit arrangement
Position the liner without forcing it
- Wash and dry the liner according to its care instructions before first use.
- Place it on the approved cooking support inside the cold basket. Centre the base and let the sides take their intended shape.
- Check that the base sits steadily. Remove the liner if it rocks, folds underneath itself or needs to be wedged into place.
- Check the rim and any handles against the basket walls and drawer opening. Nothing should obstruct closing or extend into a prohibited area.
- Slide the drawer closed gently while the appliance remains unplugged. Stop immediately if you feel new resistance; never force the drawer to compress the liner.
- Reopen the drawer and inspect the liner. Check whether closing moved it, folded its walls or caught an edge.
Expected result: the liner rests in its intended shape and the drawer closes normally without pinching, distortion or interference. Passing this check confirms physical placement only; it does not override temperature limits or the appliance manual.
The sequence is simple: measure first, check placement second, then assess cooking. Reversing that order turns your first meal into a fit test.
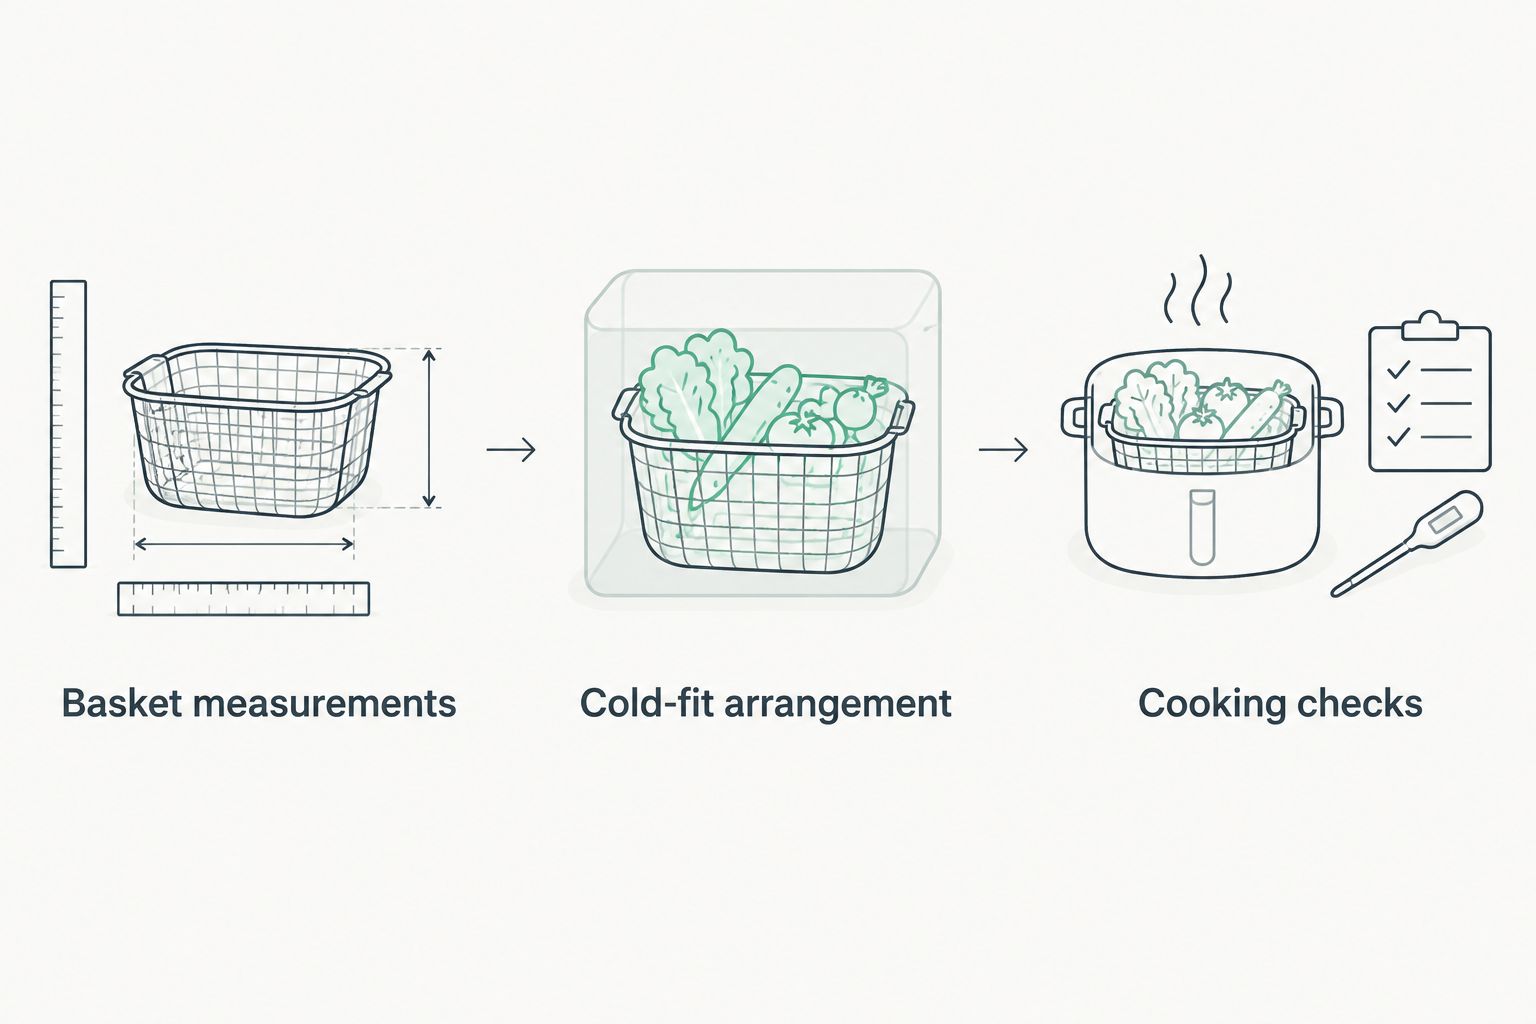
Cooking checks and cleanup
Load the liner and assess the result
- Read the appliance’s preheating instructions alongside the liner instructions. Do not improvise an empty-liner preheating routine.
- Add food without pushing the liner walls outward. Keep the load within the appliance instructions and avoid piling food above the liner rim.
- Use an approved cooking setting within the accessory’s stated temperature limit. Follow the recipe and appliance guidance rather than treating the liner as a new cooking program.
- At the normal turning or inspection point, check the food’s underside as well as its top. Turn pieces with a suitable utensil if the recipe calls for it.
- Check doneness using food-specific safety guidance. For foods that require internal-temperature verification, use a food thermometer rather than judging browning alone.
- After cooking, use suitable heat protection and follow the appliance’s removal instructions. Keep the liner supported inside the basket while hot liquid remains; do not lift a flexible liner full of hot juices.
- Let the parts cool, then clean the liner and inspect the original basket for escaped grease or residue.
Expected result: the food reaches the required doneness, the liner stays correctly positioned and you can clean both the liner and appliance according to their instructions.
Record the food, setting and result for your 2026 cooking notes. Change one cooking variable at a time when adjusting a recipe; changing the load, temperature and cooking time together makes the result harder to interpret.
Repeat-batch workflow
A second basket offers an adjacent workflow: prepare another load separately while the first cooks. The basket-and-brush set contains 2 baskets, and the foldable set contains 3 baskets; those quantities do not mean several should be stacked inside one cooking basket.
- Confirm each liner’s condition and fit separately. Do not assume a second liner is ready simply because the first passed inspection.
- Prepare the next batch in a clean liner on a suitable work surface. Keep raw ingredients separate from cooked food and clean utensils.
- Finish the first batch and remove it using the appliance’s handling instructions. Do not reach into a hot chamber to rearrange an accessory.
- Fit the next loaded liner only when you can do so safely under the appliance instructions. Recheck that its walls and rim sit correctly.
- Assess the next batch on its own. A warm appliance does not remove the need to check doneness.
Expected result: you have a repeatable preparation routine without nesting liners or treating spare baskets as simultaneous cooking compartments.
For a foldable basket, fully open it before loading. Foldability is a storage feature, not permission to cook with a partly collapsed wall or to force an oversized basket into place.
Troubleshooting
The drawer will not close normally
Stop and remove the liner after the appliance is safe to handle. Check for a caught rim, handle interference or a distorted wall; if correct placement still obstructs closing, reject that liner-and-appliance combination. Do not trim the liner or remove required appliance parts.
The liner base buckles or the walls collapse inward
Repeat the cold-fit check without food. Confirm that the basket is fully opened and that its shape matches the usable cooking area. If it cannot sit in its intended shape, do not use food weight to hold it in position.
The top browns but the underside stays soft
Check the underside when you turn the food. A solid liner changes contact and drainage beneath the food; reduce crowding and follow the recipe’s turning guidance. For food that depends on direct exposure through the original perforated support, use that support without a liner where the manual permits.
Grease remains in the appliance basket
A liner is not a sealed replacement cooking chamber. Inspect for spills around the rim and clean the original basket as instructed. Reduce overfilling and keep the liner supported when handling food and cooking juices.
The liner develops tears or visible damage
Stop using the damaged liner. Inspect the walls, base and any handles after cleaning, and follow the manufacturer’s replacement guidance. Do not patch a cooking accessory with household adhesive or assume a tear is harmless because the liner still holds its shape.
Customize your workflow
Build the routine around the foods you actually cook. Use a liner when containing residue is the priority, and compare the result with the appliance’s approved unlined arrangement when underside crispness matters most.
Keep a short 2026 setup note beside your recipes:
- Exact appliance model and liner identification.
- Confirmed accessory temperature instructions.
- Basket fit with the original cooking support installed.
- Food arrangement, turning method and final result.
- Cleaning instructions for that specific liner.
Keep separate notes for separate appliances. A successful fit in one drawer does not establish a safe fit in another, even when both appliances came from the same retailer.
FAQ
Will a Crispform liner fit every air fryer sold by Clas Ohlson?
Compatibility must be checked for the exact appliance and liner. Compare usable basket dimensions, liner dimensions, temperature instructions and the appliance manual before cooking.
What should I measure before choosing an air fryer liner?
Measure the usable interior base, the space near the upper rim and the available height with required cooking supports installed. Compare these measurements with the liner’s external dimensions, including its rim and any handles.
Can I remove the original cooking insert to make a liner fit?
Do not remove a required cooking insert just to create space. Change the accessory arrangement only when the appliance manual explicitly permits it.
Can I preheat the air fryer with an empty silicone liner?
Use an empty liner during preheating only when both the appliance and liner instructions permit that arrangement. Do not assume silicone construction establishes permission or a suitable temperature limit.
Can I put the silicone baskets in the dishwasher?
The supplied description for Silikonkorgar till airfryer — 2-pack + pensel states that its baskets are dishwasher-safe. Check the separate care instructions for Hopfällbara korgar 3-pack rather than transferring that claim between products.
Why is food less crisp underneath when I use a liner?
A solid liner changes the airflow, contact and drainage beneath the food. Avoid crowding, turn food as directed and use the approved unlined cooking support when the recipe depends on direct underside exposure.
Can I stack spare silicone liners inside one air fryer basket?
Do not stack spare liners as a way to increase cooking capacity. Use only accessory arrangements permitted by the appliance manual; pack quantity does not establish a stacking configuration.
One last thing
Test the drawer again after loading the food. A flexible basket can sit correctly when empty yet change shape under a load. For a Crispform liner, successful placement means the loaded liner remains correctly arranged—not merely that the empty accessory went through the opening.